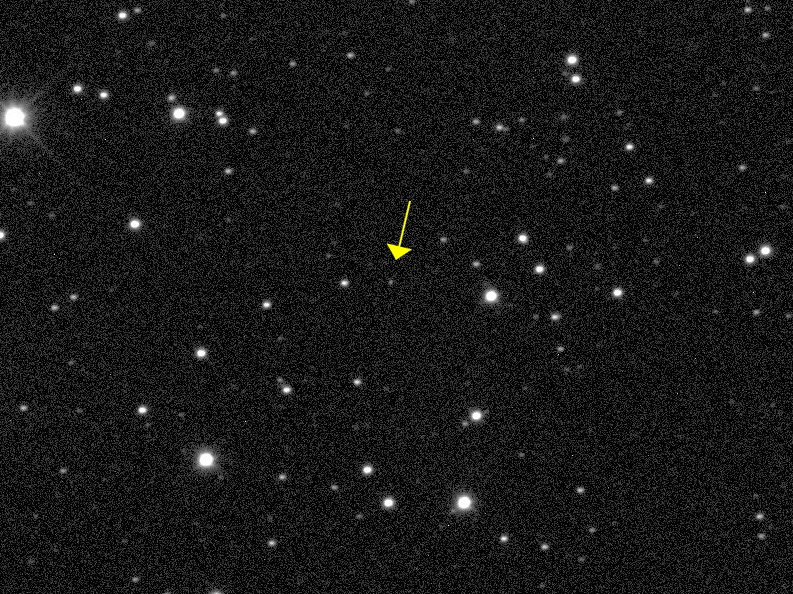
I was delighted and surprised to learn that an asteroid has been named after me. The chunk of main-belt debris provisionally known as 1993 FE15 is now officially listed as 20046 Seronik. You can all read about it on Sky & Telescope‘s web site.
A place for night sky enthusiasts

I was delighted and surprised to learn that an asteroid has been named after me. The chunk of main-belt debris provisionally known as 1993 FE15 is now officially listed as 20046 Seronik. You can all read about it on Sky & Telescope‘s web site.
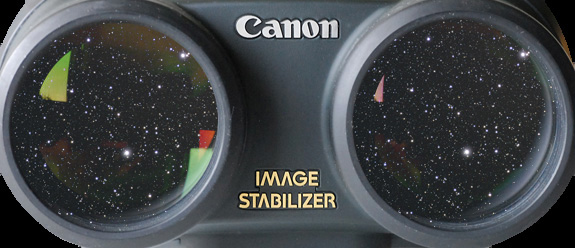
Over the years I’ve tested virtually every affordable image-stabilized binocular on the market for reviews appearing in Sky & Telescope magazine. Canon is the clear leader where astronomy is concerned.
Continue reading “Review: Canon’s Image-Stabilized Binoculars”

Few celestial objects excite the imaginations of stargazers and the general public like a good comet. The recent apparition of Comet C/2020 F3 (NEOWISE) prompted me to reflect on the all the comets I’ve been fortunate enough to see in the past 25 years. There have been some stunners, some surprises, and a few that could have been great, but fell short. Here’s my (highly subjective) pick of the five most interesting and spectacular comets from the past 25 years.
Continue reading “The Top 5 Comets of the Past 25 Years”
Gary Seronik
This item is posted on the Sky & Telescope web site. You can read it by clicking here.
 It’s been a busy time of late, full of transition and change for me — the effects of which will become subtly apparent here at GarySeronik.com. Most notably (and happily!) I’m once again with Sky&Telescope magazine, this time as a consulting editor. (Those familiar with my bio will recall I was previously an associate editor there.) As a result, it’s likely this site will see less frequent updates. I’ll still post here as the urge strikes and time allows, but most of my writing will end up in the pages of S&T.
Hope to see you there!
Gary
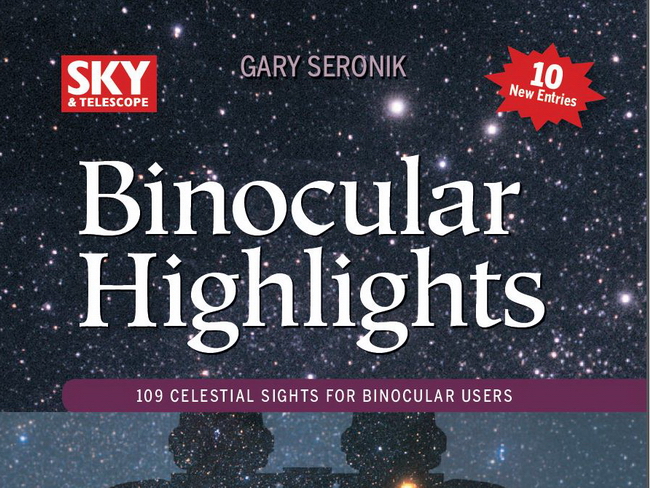 Sky&Telescope has just released a new, slightly expanded edition of my book, Binocular Highlights. The original had been out for ten years and sold very well, so instead of simply doing another print run, they opted for a new edition. I was happy to help out and select ten new “highlights” for inclusion. Continue reading “Binocular Highlights 2nd Edition Now Available”
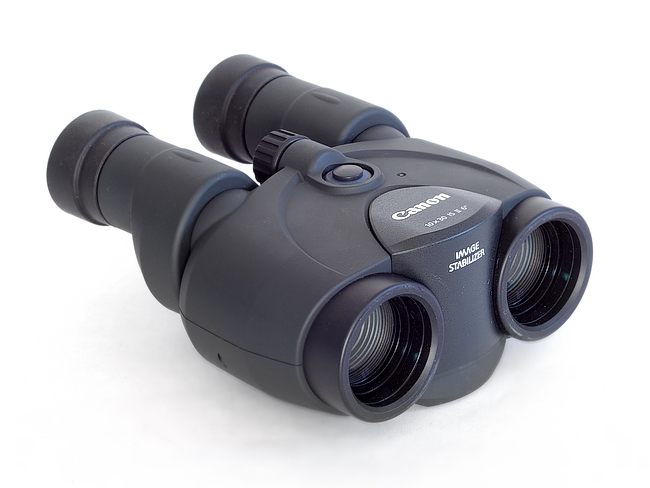
Canon recently refreshed their line up of image-stabilized binoculars with new versions of their venerable 10×30 and 12×36 models. (They’ve also released three completely new binoculars utilizing a different image-stabilization mechanism: 10×32, 12×32, and 14×32, due out some time in November, 2017.) The 12×36s go from version II (reviewed here) to III, and the 10×30s are updated to version II. What are the differences and are the changes a reason to upgrade? To find out, I obtained a 10×30 IS II to evaluate. Continue reading “Review: Canon 10×30 IS II Image-Stabilized Binoculars”
This simple, easy-to-build mount provides the perfect introduction to long-exposure astrophotography.
Round stars. That’s the difference between astrophotos captured with a camera that tracks the sky’s motion versus one that doesn’t. Traditionally you’d make a tracked photo by placing your camera piggyback on a telescope with a motorized equatorial mount. But that’s a lot of equipment to deal with if all you want are some nice-looking constellation portraits or a shot of a newly discovered comet — especially if you have to travel to reach your favorite dark-sky destination.
Continue reading “A Tracking Platform for Astrophotography”
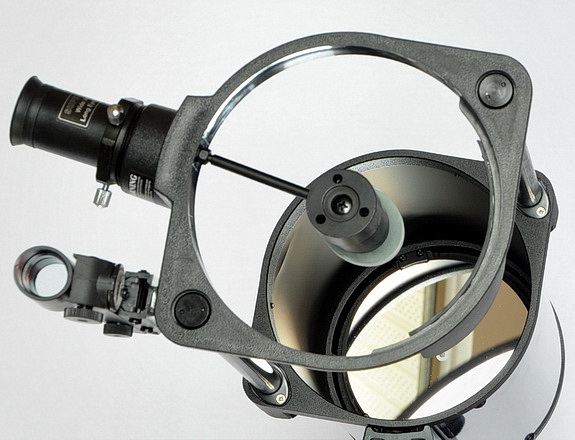
For optimum performance, precisely aligned optics are a must. Luckily, achieving this goal doesn’t have to be difficult.
Most telescope users know that the only way to get every last drop of performance from a reflector telescope is to ensure that the optics are in good collimation. Here’s a method that’s simple and doesn’t require tools or even a centre-dotted primary mirror.
Continue reading “No-Tools Telescope Collimation”
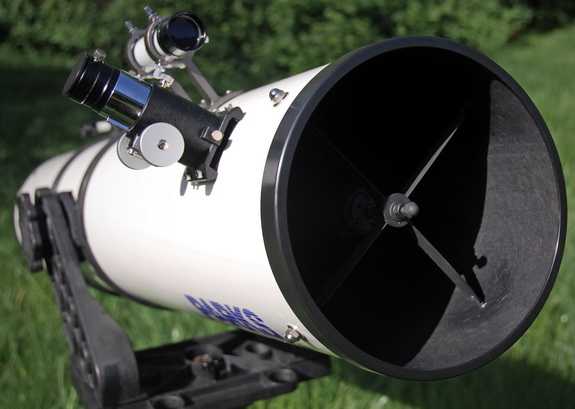
The Newtonian reflector is one of the most versatile optical configurations ever created. Whether homebuilt or commercially manufactured, a good Newtonian can rival the performance of any optical design.
Knowledge is power. The more you know about your Newtonian reflector’s potential and its pitfalls, the better equipped you’ll be to ensure it’s delivering peak performance.
Continue reading “Five Reflector Performance Killers”